How to install and configure FlexRAID 2.x on Ubuntu Server
NOTE: This guide has been written for Ubuntu Lucid Lynx 10.04 although it may work equally well on earlier or later version of Ubuntu.
Overview
You may have read already that I currently have six 2TB drives in my server which hold all my CD, DVD & Blu-ray rips. Statistically speaking, the more drives you have the more likely you are to experience a drive failure at some point. As I obviously still own all the physical media I could re-rip them all in the event of such an occurrence. However, this would prove quite time-consuming and so I figured it’s about time I implemented some sort of RAID system to protect the data on the drives. RAID is basically a mechanism which allows you to recreate the data on a failed drive using the data from the other drive(s) in the RAID array. It should be stressed that RAID is not a substitute for proper backups and so you should ensure important data is backed up properly. If you’re not familiar with RAID then you can read all about it here.
Traditional RAID systems operate at the system level and so you need to format your drives to implement your chosen RAID system. This can be irritating especially if you’ve already filled up your drives with data. Furthermore, if you experience multiple concurrent drive failures over and above the RAID tolerance level you’ve chosen then you lose ALL the data in the RAID array, not just the data on the failed drives.
In my search for a suitable RAID system to implement on my server I came across FlexRAID. FlexRAID is a RAID system that aims to protect data rather than physical discs. FlexRAID is not a file system but instead it sits on top of your existing file system. This means you can implement FlexRAID without having to reformat your drives. Furthermore, the drives you want to protect with FlexRAID do not have to all be the same physical size as each other. They don’t even have to reside on the same physical machine. So, you could for example, add USB/eSATA drives to your RAID array that physically live elsewhere on your network. Or use an external (USB/eSATA) drive to hold the array parity leaving all the internal drives in your server for your data. If you have a NAS on your network you could add the data on that to the FlexRAID array too. Also, with FlexRAID if you experience multiple concurrent drive failures over and above the chosen RAID tolerance level then you lose only the data on the failed drives, the data on the non-failed drives remains intact. Sound impressive? I think so!
At the time of writing there are two main flavours of FlexRAID: “Snapshot” and “Real-Time”. These two flavours were previously called FlexRAID Basic and FlexRAID Live! respectively and needed some explanation as to which one did what. Fortunately that is now a thing of the past as the names explain what they are, assuming of course that you’re familiar with the fundamental difference between real-time RAID and snapshot RAID!
Real-time RAID is a RAID mechanism whereby the parity information is updated as soon as you make any changes to your data. This means that the Array is always up to date and all data can be re-constructed from parity if required.
Snapshot RAID is a RAID mechanism whereby any changes you make to your data are not reflected in parity until you manually force a re-synch. Until such time as the array has been re-synched then any changed data is at risk since it cannot be re-constructed from parity. Once the Array has been re-synced then all data in the Array is once again protected.
Whilst at first glance it may seem that Real-Time FlexRAID is the most sensible flavour to use I decided to go for Snapshot FlexRAID. Why? Simply because I rarely change the data in the array (remember, it’s all ripped data) and so do not need real-time synchronisation. Maintaining a real-time RAID parity can be quite resource intensive and I didn’t feel this overhead was necessary in my case.
I’ve scheduled FlexRAID to automatically re-sync the array regularly so I don’t have to remember to do it manually. You can read more about FlexRAID here. With FlexRAID you can add individual folders and/or files to the RAID array, you don’t have to add whole drives. This means, for example, you can RAID infrequently changing data on your OS drive whilst excluding the data which changes frequently. Or whatever variation you choose. The great thing about FlexRAID is it is flexible.
At the time of writing Real-Time FlexRAID is in alpha state so I’m not going to explain how to install it, I’ll just cover the snapshot version.
Previously there were two parts to snapshot FlexRAID (the Host and the WebUI client) but from version 2.0 onwards these have been combined making installation much easier.
TIP: If you’re going to be following this guide step by step and are using Putty to administer your server then you can save yourself some typing by simply highlighting each command below, right-clicking on it and selecting Copy. Then toggle over to your Putty Session and right-click once more. The command you’ve just copied from here will be automatically pasted into your Putty Session.
How to install FlexRAID 2.x on Ubuntu
Before we do anything else we should bring the Ubuntu Repository up to date. So, from a Putty Session or, if you’ve got a screen and keyboard attached to your server, then you can use the command line itself to type the following:
sudo apt update
You’ll be prompted for a password. This is the password you created when you installed Ubuntu. Ubuntu tends to prompt for a password each time you issue a “sudo” command.
Download and install FlexRAID snapshot
The next thing we need to do is create the folder which will be used to store the various FlexRAID files:
sudo mkdir /var/lib/flexraid
Next set the permissions for this folder:
sudo chmod o+w /var/lib/flexraid
IMPORTANT: If you are running the 64bit version of Ubuntu then for FlexRAID to work properly you will need to install the 32bit libraries. If you do not do so then you will receive an error message along the lines of “unable to execute ./FlexRAID-2.0-PreviewXII-Setup.bin: No such file or directory” when you try and install it.
Obviously if you’re running the 32bit version of Ubuntu then you can omit this next command:
sudo apt install ia32-libs
and answer Y when prompted.
At the time of writing the latest version of FlexRAID Host is 2.0. Check this page for the latest version and alter the following commands accordingly.
wget http://download.openegg.org/temp/beta/FlexRAID-2.0-Public-Beta4.bin
Once we’ve downloaded the file we need to make it executable:
chmod a+x FlexRAID-2.0-Public-Beta4.bin
Now we need to run the executable to install it. NOTE: During the installation process you will be asked for an installation directory to use. Please use /var/lib/flexraid which we created above.
./FlexRAID-2.0-Public-Beta4.bin
Now we’ve finished with the executable we can delete it:
rm FlexRAID-2.0-Public-Beta4.bin
Next set the permissions on the folder:
sudo chmod o=rx /var/lib/flexraid
Testing the installation
Now is a good time to test the installation. So, type the following three commands:
cd /var/lib/flexraid
sudo su
./FlexRAID &
This will start the FlexRAID Server. You will see a screen similar to the screenshot below. The session will appear to hang and the cursor will not return. This is normal.

Launching the FlexRAID Web Client
Now we have started the FlexRAID Server we need to wait a few seconds before trying to launch the browser interface. We launch the interface by typing the following string into the address bar of your browser (NOTE: at the time of writing Firefox is the recommended browser):
http://mymediaserver:8080/
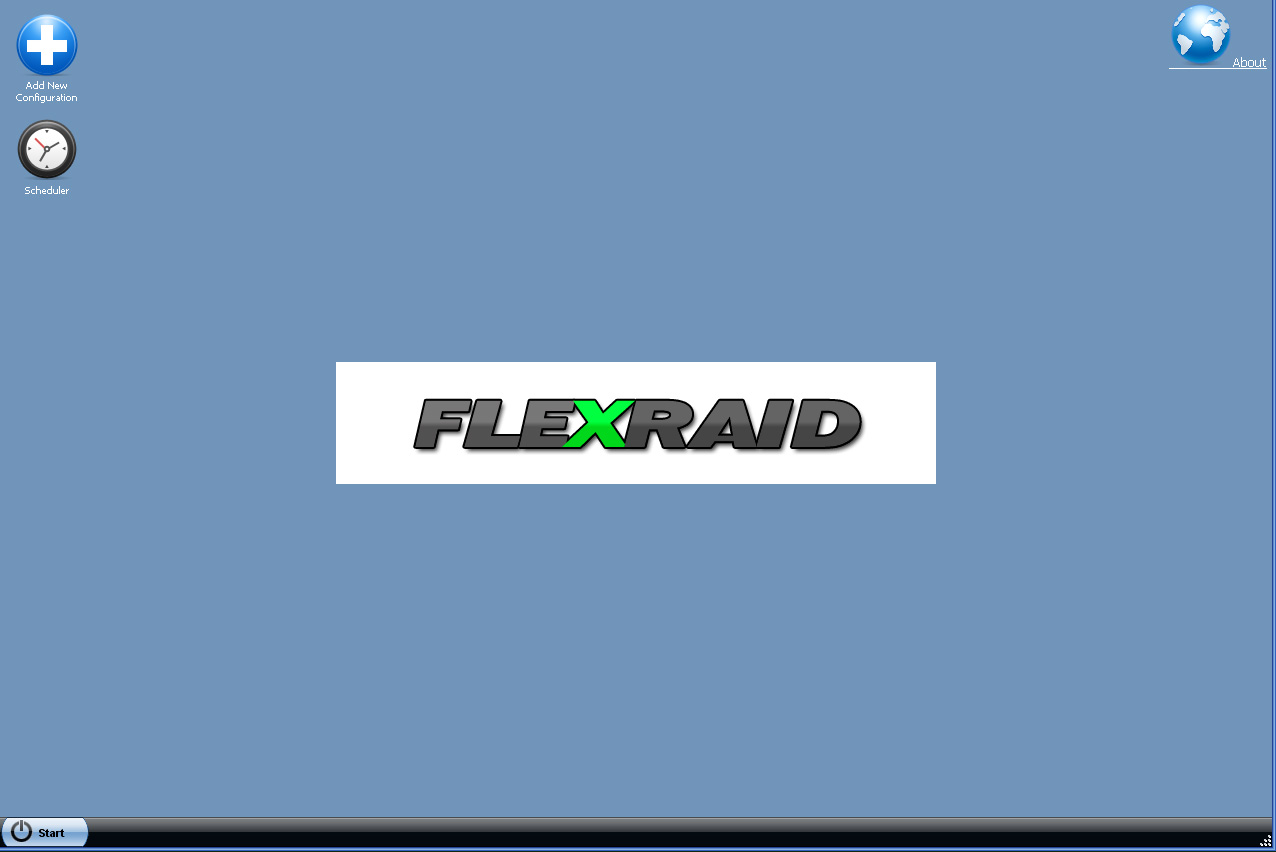
where mymediaserver is the name you gave your server when you installed Ubuntu. Instead of using the server name the IP address of the server will work just fine. You should see a screen similar to this:
Now you can break out of the Putty session by hitting [Ctrl] & C simultaneously. Don’t forget to issue the “exit” command in your Putty session to exit from root.
FlexRAID will remain active until you restart your server. Once you’ve restarted your server you’ll need to re-start FlexRAID again. See the following guide for how to make this happen automatically: How to run FlexRAID on boot.